How to Add Networks to MetaMask Using Chainlist (Techedubyte Guide)
MetaMask is one of the most popular cryptocurrency wallets that helps users manage their digital assets, interact with decentralized applications (dApps) and much more. However, to fully utilize MetaMask’s capabilities, adding various blockchain networks is essential. This is where Chainlist comes in, offering an easy way to add networks to MetaMask. In this Techedubyte guide I will walk you through the process of adding networks to MetaMask using Chainlist, ensuring you can smoothly integrate your wallet with various decentralized platforms and services.
Table of Contents
- What is MetaMask?
- Why Add Custom Networks to MetaMask?
- What is Chainlist?
- How to Add Networks to MetaMask Using Chainlist
- 4.1 Setting Up MetaMask
- 4.2 Connecting MetaMask to Chainlist
- 4.3 Adding a Network Using Chainlist
- Top Networks You Can Add Using Chainlist
- How to Verify the Network Has Been Added
- Common Issues and Troubleshooting
- Benefits of Using Chainlist for MetaMask Integration
- Conclusion
What is MetaMask?
MetaMask is a cryptocurrency wallet and gateway to the decentralized web. It allows users to store Ether (ETH) and other ERC-20 tokens and interact with decentralized applications (dApps) directly from their browser or mobile device. MetaMask is supported on multiple browsers like Chrome, Firefox, and Brave and can also be used as a mobile app.
MetaMask is often used by people who want to participate in decentralized finance (DeFi), trade tokens, or interact with blockchain based games. However, MetaMask by default only supports Ethereum’s main network. To use it with other blockchain networks (such as Binance Smart Chain, Avalanche and Polygon), you must manually add them.
Why Add Custom Networks to MetaMask?
By default, MetaMask only supports the Ethereum Mainnet. However, many blockchain projects run on different networks like Binance Smart Chain (BSC), Polygon, Avalanche and others. These networks are often used for faster transactions or lower fees compared to Ethereum. Adding custom networks allows MetaMask users to interact with various DeFi platforms, NFT markets, and decentralized applications across multiple blockchains.
- Provide access to a wider range of dApps and DeFi platforms.
- Help reduce transaction fees by using blockchains with lower fees than Ethereum.
- Enable token transfers between various networks.
What is Chainlist?
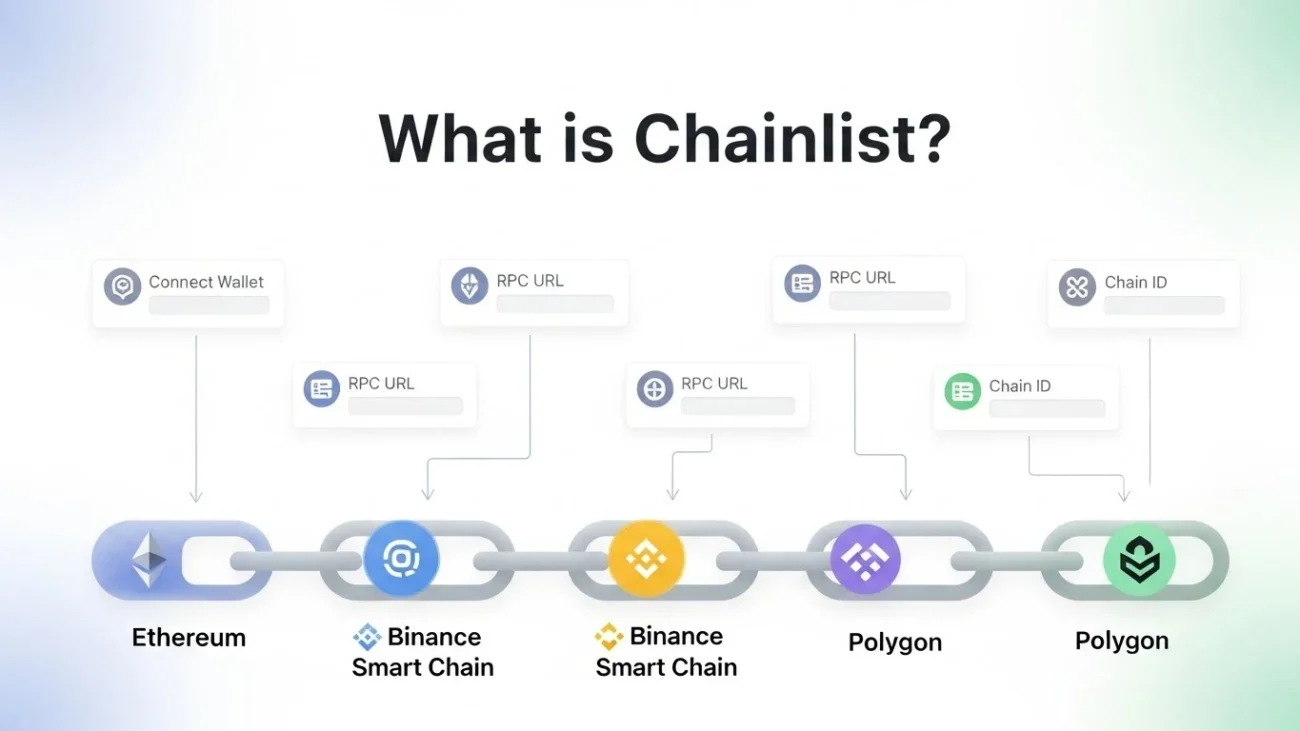
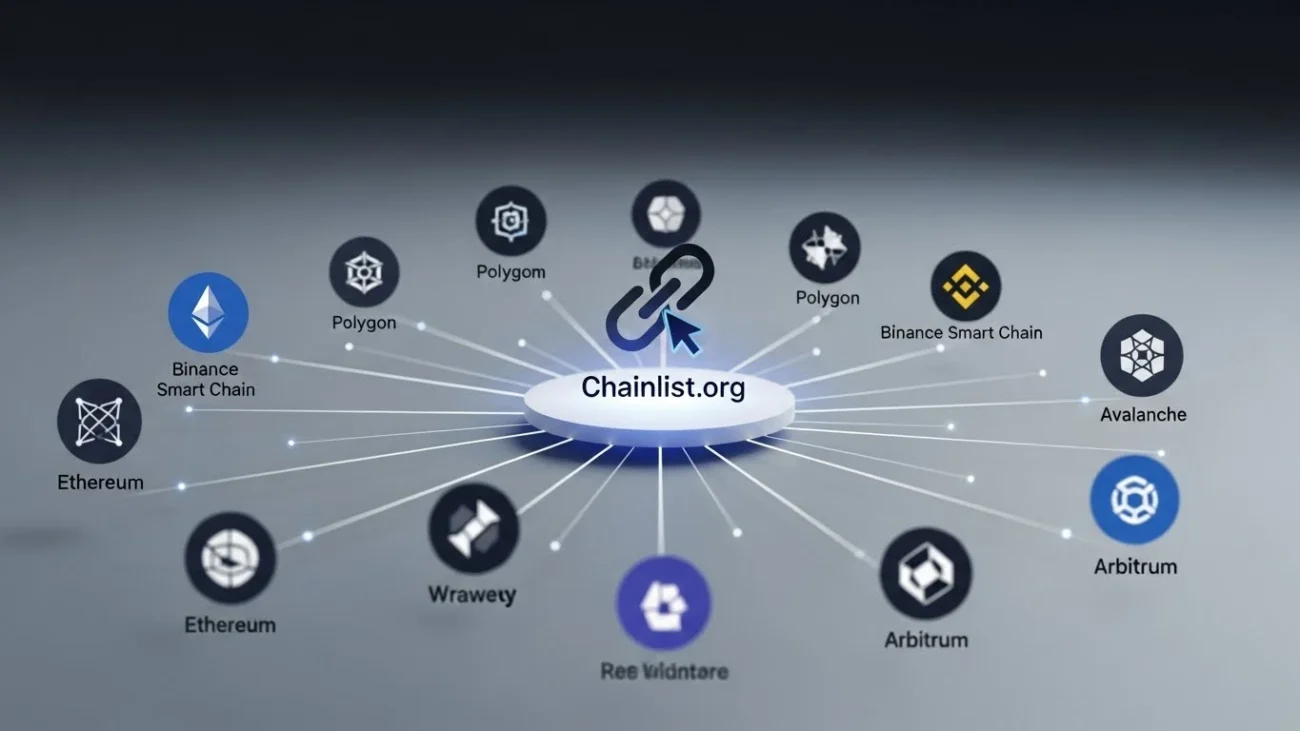
Chainlist is a community driven platform that allows users to easily find and add Ethereum compatible networks to their MetaMask wallets. Chainlist provides a comprehensive list of public Ethereum compatible blockchains and their configurations, making it easier for users to add these networks to their wallets in just a few clicks.
- Chainlist simplifies the process of adding networks to MetaMask. Rather than manually entering network details like RPC URL, Chain ID, and other parameters, you can simply visit Chainlist, search for the network you want and add it with just one click.
- This process eliminates the need for complex technical setups and makes it accessible to both beginners and experienced users.
How to Add Networks to MetaMask Using Chainlist
Adding networks to MetaMask using Chainlist is a straightforward process. Let is go through the steps together to ensure you can easily add networks to your wallet.
4.1 Setting Up MetaMask
Before adding any networks to MetaMask, ensure you have the wallet installed and set up correctly. Here’s how you can do it:
- Download MetaMask: If you haven’t already, download MetaMask from the official website or your browser’s extension store.
- Create a Wallet: Open MetaMask and follow the prompts to create a new wallet, or import an existing one using your seed phrase.
- Set Your Preferences: Choose your preferred settings and make sure your MetaMask is ready for network integration.
4.2 Connecting MetaMask to Chainlist
To add a network via Chainlist, you must first connect your MetaMask wallet to the Chainlist platform. Follow these simple steps
- Open your browser and go to the Chainlist website.
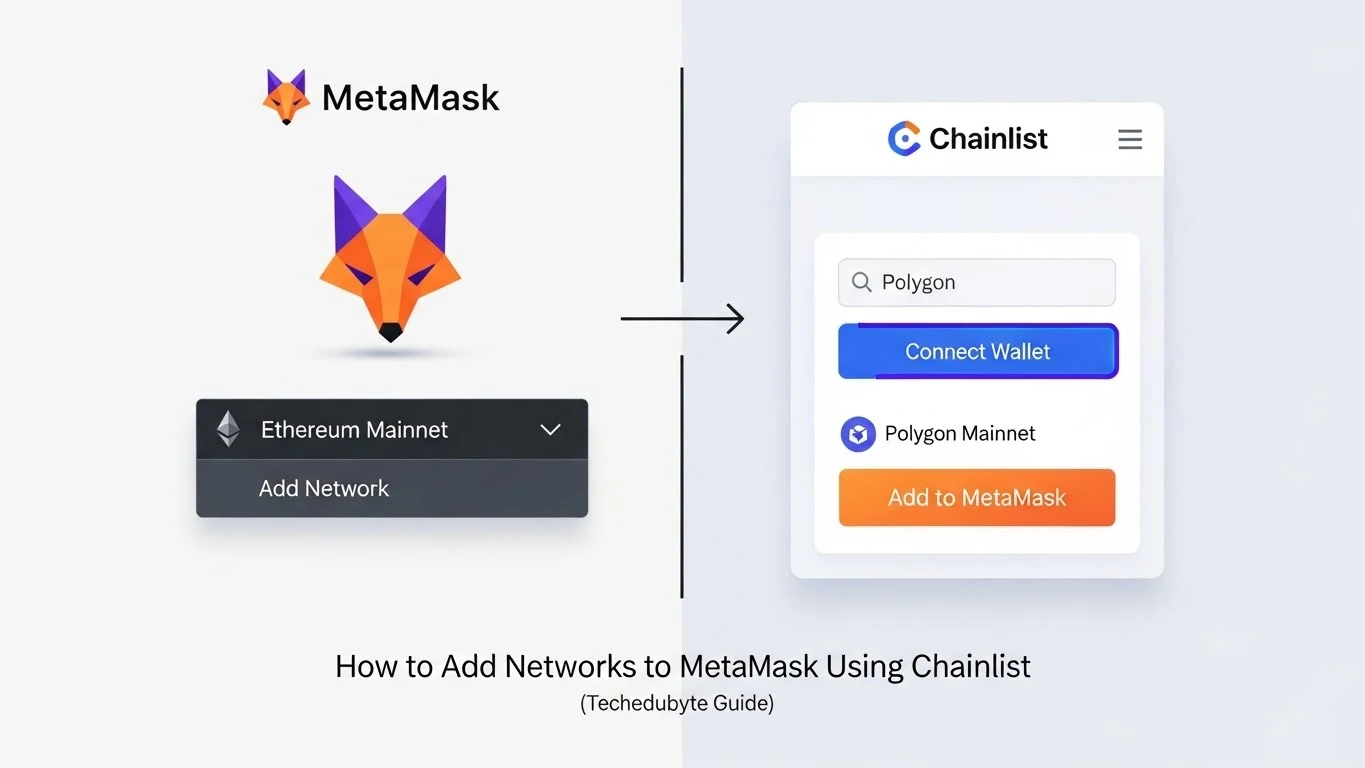
- Click on the “Connect Wallet” button in the top right corner of the screen.
- Select MetaMask from the list of supported wallets.
- Confirm the connection in your MetaMask wallet.
4.3 Adding a Network Using Chainlist
- On the Chainlist homepage, use the search bar to find the network you want to add (Binance Smart Chain, Avalanche, Polygon).
- Click on the network you want to add to MetaMask.
- On the network’s page, click the “Add to MetaMask” button.
- MetaMask will pop up asking you to confirm adding the network. Click “Approve.”
- Once confirmed, the network will be added to your MetaMask wallet.
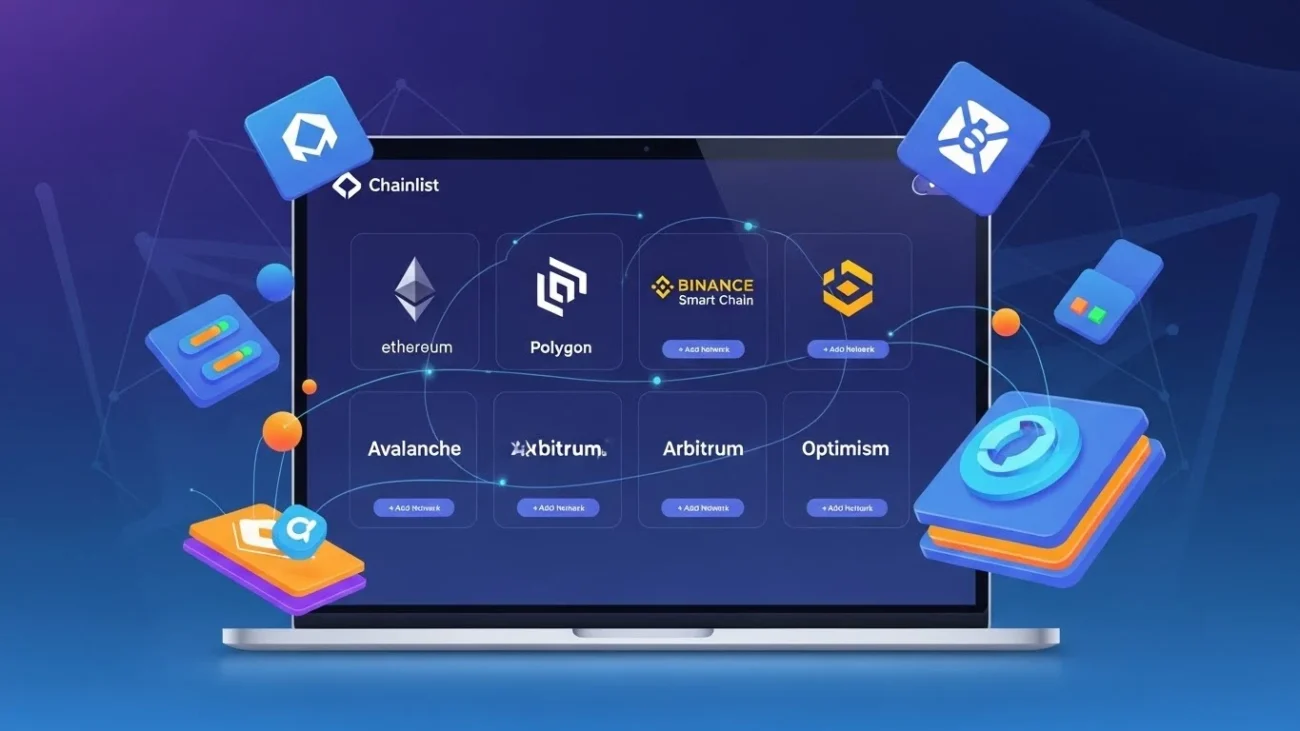
Top Networks You Can Add Using Chainlist
Chainlist supports a wide range of networks. Here are some of the most popular ones that you can easily add to your MetaMask wallet:
1. Binance Smart Chain (BSC)
Binance Smart Chain is known for its fast transaction speeds and low fees. It is one of the most popular networks used by decentralized finance (DeFi) projects and decentralized exchanges (DEXs) like PancakeSwap.
2. Polygon (Matic)
Polygon is a Layer 2 scaling solution for Ethereum that provides fast, low cost transactions. It has gained significant popularity in the DeFi space, especially among Ethereum users looking to avoid high gas fees.
3. Avalanche
Avalanche is a high speed blockchain platform for decentralized applications. It focuses on high throughput, low transaction costs and near instant finality, making it an attractive option for developers and users in the DeFi space.
4. Fantom
Fantom is a fast, scalable blockchain that supports decentralized applications, digital assets, and more. It uses a unique consensus mechanism known as Lachesis, enabling high speed transactions with low fees.
5. Optimism
Optimism is another Layer 2 scaling solution for Ethereum, designed to improve scalability and reduce fees. It is gaining traction among Ethereum developers and users who want to take advantage of its fast transaction speeds.
How to Verify the Network Has Been Added
After adding a network to MetaMask using Chainlist, you may want to verify that it has been successfully added. Here’s how you can check
- Open your MetaMask wallet.
- Click on the network dropdown at the top of the MetaMask window (it should show “Ethereum Mainnet” by default).
- You should see the newly added network listed in the dropdown.
- Select the network to switch to it and begin interacting with dApps on that network.
Common Issues and Troubleshooting
While adding networks via Chainlist is generally straightforward, some users may encounter issues. Here are some common problems and their solutions:
1. Network Not Showing Up in MetaMask
- Solution: Double check if the network was successfully added. If not, try adding it again. If the issue persists, restart MetaMask and try again.
2. Incorrect RPC URL or Network Details
- Solution: Ensure that the network details (such as RPC URL and Chain ID) are correct. Chainlist typically provides the correct details, but errors can sometimes occur.
3. Slow MetaMask Syncing
- Solution: If MetaMask is syncing slowly, try clearing your browser cache or switching to a different browser to improve performance.
Benefits of Using Chainlist for MetaMask Integration
- Ease of Use: Chainlist makes it simple to find and add networks with just one click. You do not need to manually input network details.
- Wide Selection of Networks: Chainlist supports a wide range of Ethereum compatible networks, ensuring that users can access many different blockchain ecosystems.
- Time Saving: By using Chainlist, you save time that would otherwise be spent searching for and entering network parameters manually.
- Community Driven: Chainlist is open source and constantly updated by the community, ensuring you have access to the latest networks.
Conclusion
In this Techedubyte guide, we have explored how to add networks to MetaMask using Chainlist. Whether you’re looking to interact with decentralized applications on Binance Smart Chain, Polygon or other blockchain networks, Chainlist simplifies the process, making it easier than ever to expand your MetaMask experience.
By following the steps outlined in this guide, you will be able to seamlessly add custom networks to your MetaMask wallet and start exploring the world of decentralized finance, NFTs and more. If you encounter any issues, the troubleshooting section offers quick solutions to help you resolve them. Happy blockchain exploring!